All travellers are familiar with the dismay of having an impressive sunset or famous tourist attraction appear drab on-camera. The positive? Fancy equipment and decades of knowledge are not required to capture spectacular travel photo. Whether on a phone or on a camera, simple tricks will help your pictures to become fantastic narrations. This guide offers 7 tips to keep in mind to best take photos of your adventures that show the beauty and emotion.
Step 1: Plan Your Shots Before You Arrive
Great travel photos often begin before you even pack your bags. Research your destination to identify the most photogenic locations, optimal shooting times, and unique perspectives that go beyond typical tourist shots.
Use tools like Google Earth, Instagram location tags, and photography websites to scout potential subjects. Look for sunrise and sunset times, weather patterns, and seasonal considerations that might affect your shots. Many iconic landmarks have "golden hour" timing that can make the difference between an ordinary photo and an extraordinary one.
Consider creating a shot list of must-have photos, but remain flexible enough to capture unexpected moments. The best travel photos often happen when you combine preparation with spontaneity.
Step 2: Master the Rule of Thirds and Composition Basics
A strong composition is key to great travel photography. Using the rule of thirds—dividing your frame into nine sections with two horizontal and two vertical lines—helps create dynamic and visually engaging shots, rather than simply centering your subject.
Place key elements along these lines or at their intersections. For landscapes, position the horizon along the upper or lower third line rather than cutting the image in half. When photographing people or architectural details, align them with the vertical lines.
Beyond the rule of thirds, look for leading lines that draw the eye through your image. Staircases, shorelines, pathways, and architectural elements can guide viewers deeper into your photograph and create a sense of depth and movement.
Step 3: Pay Attention to Lighting and Timing
Lighting can make or break a travel photo. The harsh midday sun creates unflattering shadows and washed-out colors, while the soft, warm light during golden hour (the hour after sunrise and before sunset) adds magic to almost any scene.
Blue hour, occurring just after sunset or before sunrise, provides beautiful even lighting that's particularly stunning for cityscapes and architectural photography. During this time, artificial lights begin to illuminate buildings and streets while the sky retains some color and detail.
Don't dismiss overcast days—cloudy skies act like a giant softbox, creating even, diffused lighting that's perfect for portraits, detailed shots, and vibrant colors. Rainy weather can add drama and unique reflections to your images.
Step 4: Include People to Add Scale and Story
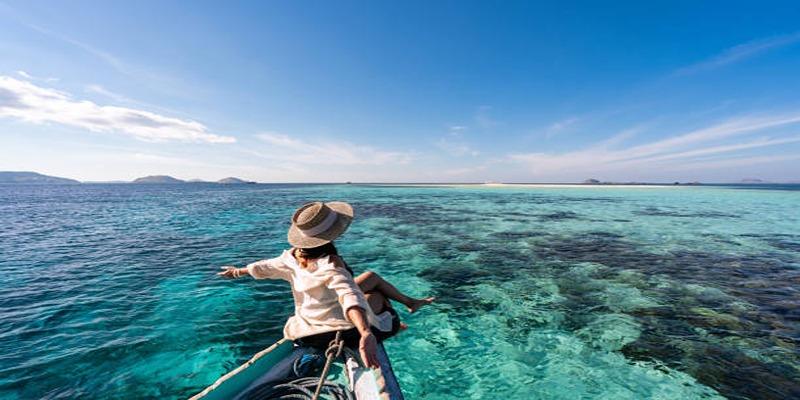
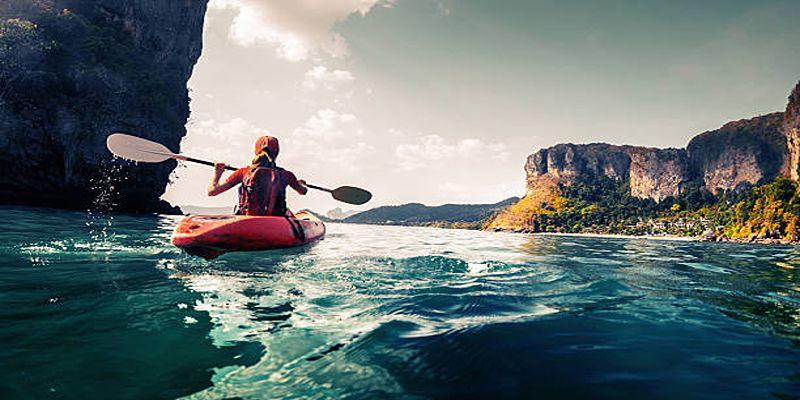
Adding human elements to your travel photos creates emotional connection and provides scale to showcase the grandeur of your destinations. A person walking through a massive cathedral or standing before a towering mountain range immediately conveys the impressive size of these locations.
When photographing strangers, be respectful and consider asking permission, especially for close-up portraits. Many people are happy to be photographed when approached politely. Candid shots of daily life—market vendors, children playing, or locals going about their routines—often tell more compelling stories than posed tourist photos.
Include your travel companions naturally in shots. Rather than asking them to stare at the camera, capture them exploring, reacting to sights, or interacting with the environment. These authentic moments often become the most treasured photos from any trip.
Step 5: Get Creative with Angles and Perspectives
Break away from eye-level shots to create more engaging and unique travel photos. Experiment with high and low angles to show familiar subjects in fresh ways.
Climb stairs, hills, or observation decks for elevated perspectives that reveal patterns, layouts, and relationships between elements. Conversely, get low to emphasize foreground elements or create dramatic leading lines that draw viewers into your scene.
Look for reflections in water, windows, or mirrors to add depth and visual interest. Frame your subjects through doorways, archways, or natural elements like tree branches. These techniques create layers in your images and guide the viewer's eye through the composition.
Step 6: Focus on Details and Local Culture
While grand landscapes and famous monuments deserve attention, don't overlook the small details that truly capture the essence of a place. Street art, traditional doorways, local food, textiles, and architectural details often convey more cultural authenticity than wide establishing shots.
Document the textures, colors, and patterns that make each destination unique. The weathered hands of a craftsperson, intricate tile work, colorful spices in a market, or traditional clothing can tell powerful stories about local culture and daily life.
Create variety in your travel photo collection by shooting both wide scenes and intimate details. This approach provides a complete visual narrative of your experiences and gives you more flexibility when sharing or displaying your images.
Step 7: Edit Thoughtfully to Enhance Natural Beauty
Post-processing can elevate good travel photos to great ones, but restraint is key. Start with basic adjustments like exposure, contrast, and vibrance to make your images pop without looking over-processed.
Most smartphones come with built-in editing tools that are sufficient for casual travel photography. For more control, consider apps like Lightroom Mobile, VSCO, or Snapseed. Focus on enhancing what was already there rather than dramatically altering the reality of your experience.
Straighten horizons, remove distracting elements if possible, and adjust shadows and highlights to reveal details that might have been lost in challenging lighting conditions. Remember that the goal is to recreate the beauty and emotion you felt when taking the photo, not to create something entirely artificial.
Final Thoughts
Great travel photography isn’t about expensive gear or exotic locations—it’s about skill and creativity. Practice these 7 steps in your own neighborhood to master composition, lighting, and unique angles before your next trip. Be patient, experiment, and take as many shots as needed to get that perfect one. Even pros started as beginners. Your effort now will create stunning memories to cherish for years to come.